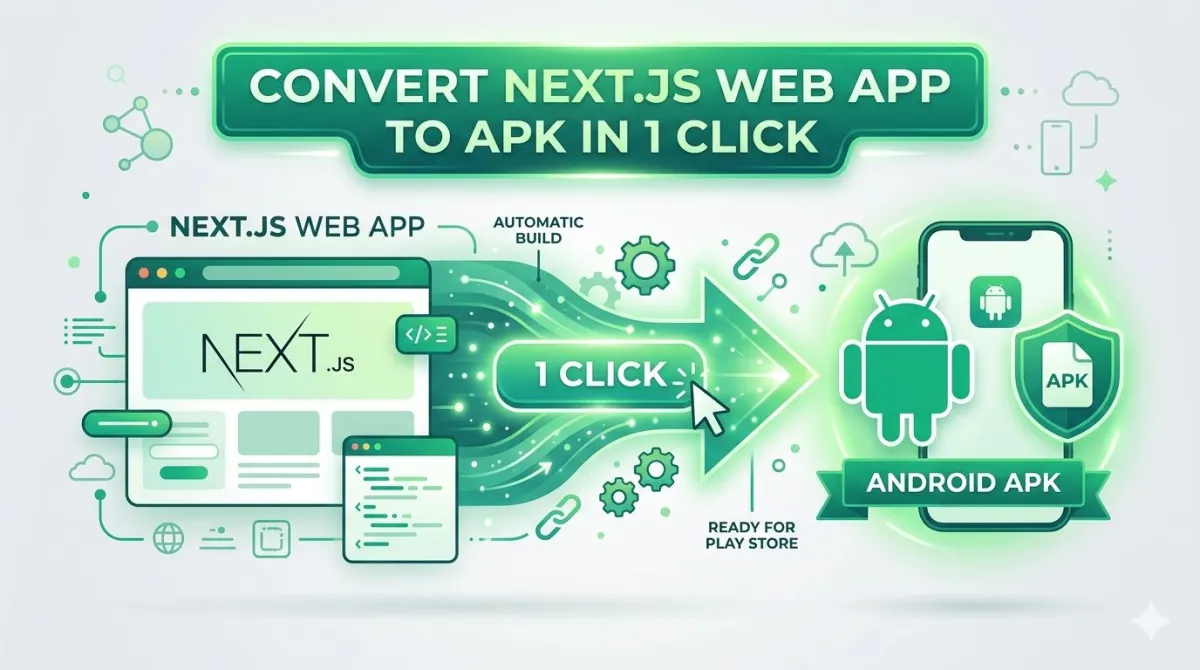
Convert Your Next.js App to an Android APK Without Writing a Single Line of Native Code
You spent months building your Next.js app. Server-side rendering, file-based routing, optimised images — the whole thing is polished and fast. Users love it on desktop.
Then comes the question you've been dreading: "Do you have a mobile app?"
Suddenly the conversation shifts from your product to a platform problem. Kotlin? Android Studio? Gradle configurations that make seasoned developers flinch? A React Native rewrite that could take six months? None of these feel like reasonable options when you've already built something that works.
Here's what most Next.js developers don't realise: your app is already 90% of the way there. Because Next.js outputs pages that run in a browser, they render just as well inside a native Android WebView. You don't need to touch your codebase. You don't need a new tech stack. You just need the right conversion service.
This guide walks you through the whole thing — from prepping your Next.js deployment to downloading a signed APK ready for Play Store submission.
Why Turn Your Next.js App Into an Android APK?
Mobile Users Think in Apps, Not Tabs
The way people use phones is fundamentally different from how they use computers. On mobile, the home screen is prime real estate. People tap apps they've installed — they don't fire up a browser, type a URL, and navigate. If your product doesn't have an icon on that screen, you're invisible to a huge chunk of your potential users.
An Android APK gives you:
- Home screen placement — your app sits alongside the tools your users reach for every day
- Play Store discoverability — people actively search the Play Store; a browser tab doesn't show up there
- Perceived legitimacy — an app listing signals that your product is serious and maintained
- Push notification capability — reach users directly on their lock screen, even when they're not browsing
- Branded offline experience — instead of a browser's generic network error, users see your interface
Mobile accounts for more than half of all web traffic in most industries. For many audiences — particularly users in emerging markets or younger demographics — mobile is the only screen that matters.
Mobile vs Desktop Web & App Usage
Why a PWA Doesn't Fully Solve the Problem
Progressive Web Apps seem like the obvious answer on paper. Add a manifest, register a service worker, and let users pin the site to their home screen. In practice, it's messier than that.
Most users never tap "Add to Home Screen" — the prompt is easy to dismiss and easy to forget. PWAs don't appear in Play Store search results by default, so discoverability takes a significant hit. Push notification behaviour varies wildly across Android browsers and OS versions. Offline caching can produce subtle inconsistencies that are tricky to debug and even trickier to explain to a user who's just staring at a broken screen.
A proper APK eliminates all of this. It installs like any other app. It appears in Play Store search. It behaves the way users expect an Android app to behave.
Next.js Is Particularly Well-Suited for This Approach
Here's something worth understanding: Next.js apps have qualities that make WebView packaging especially effective.
Whether you're using Static Site Generation or Server-Side Rendering, your pages ultimately deliver HTML that renders in a browser. That's exactly what a WebView consumes. File-based routing maps naturally to app navigation. Pages load with the performance optimisations you've already built in — image lazy loading, code splitting, prefetching — and those carry straight into the WebView wrapper.
You're not sacrificing anything you've already built. You're packaging it.
What Does a "1-Click" Next.js to APK Conversion Actually Mean?
The Mechanics Behind Managed Conversion
The core concept is worth demystifying. Here's how it works:
- You provide your publicly deployed Next.js app's URL
- The conversion service wraps that URL in a native Android WebView shell
- You configure the branding layer: icon, splash screen, navigation structure, and colour scheme
- The service compiles a properly signed APK in a cloud build environment
- You download, test, and request adjustments until it's exactly right
Nothing in this process requires Android Studio on your machine, a local Java Development Kit, or familiarity with signing keystores. The entire build pipeline runs remotely.
AppOfWeb.com — Built for This Use Case
AppOfWeb is designed specifically for developers and business owners who want to ship a real Android app from an existing web product — without the overhead of native development.
The workflow is direct: paste your Next.js site URL, define your app's identity, upload your branding assets, and submit. The team handles compilation, signing, and delivery. And because unlimited revisions are included, you're not locked into paying per build iteration — you can refine until the result matches your expectations.
It's aimed at the SaaS founders, agency developers, and product teams who have a working web app and need a mobile presence without spinning up a parallel codebase.
How It Stacks Up Against DIY Approaches
Tools like Capacitor and Cordova technically let you wrap a web app yourself. The keyword there is technically.
The setup process involves installing Node.js packages, configuring platform targets, handling Android SDK versions, managing signing certificates, and debugging build errors that rarely come with helpful explanations. If something breaks mid-pipeline, you're in Stack Overflow territory.
| Comparison Point | DIY (Capacitor / Cordova) | AppOfWeb.com |
|---|---|---|
| Time to First Build | Hours to days | Under an hour |
| Code Required | Yes | None |
| Build Infrastructure | Your local machine | Managed cloud |
| Revisions | Manual rebuild each time | Unlimited, included |
| Play Store Submission | You manage it entirely | Optional managed add-on |
| When Builds Break | Your problem | Their problem |
If you enjoy deep-diving into Android toolchain issues, the DIY route is there. If you want an APK so you can move on with building your product, a managed service is the more rational choice.
DIY Cost Equivalent Calculator
See how much developer time you save by skipping the Android Studio and Gradle configuration headache.
Hidden DIY Cost Equivalent: $1,500
Value of using AppOfWeb: Incalculable focus on your product.
Step-by-Step: Taking Your Next.js App from URL to APK
Step 1 — Get Your Deployment Ready
Before submitting anything, make sure your app is in the right state.
It needs to be live on a public URL. Vercel is the natural home for Next.js, but Netlify, Railway, or your own server work equally well. Local development URLs and preview deployments with authentication walls won't work — the conversion service needs to reach your app directly.
Test it in a mobile viewport. Open Chrome DevTools, switch to device mode, and view your site at 390px width. Layout problems that are barely visible on desktop become obvious inside a WebView's narrow frame. Fix them before converting.
Verify your dynamic routes behave correctly. Next.js file-based routing is clean, but make sure your dynamic routes (e.g., /product/[id]) resolve properly when accessed directly — not just through client-side navigation. WebView apps follow links in ways that can surface routing misconfigurations that browser-based navigation would silently handle.
Confirm HTTPS is in place. Android 9 and above enforces encrypted connections for content loaded inside WebView apps. Plain HTTP will result in a blank or broken screen. If your Vercel deployment uses a custom domain, double-check that SSL is active.
Check your environment variables. Next.js NEXT_PUBLIC_ variables are baked in at build time — make sure your production deployment is pointing to the right API endpoints, not a local or staging environment.
Step 2 — Submit Your URL to AppOfWeb.com
Go to appofweb.com, enter your live Next.js URL, and fill in the app's identity:
- App name — the label displayed beneath your icon on users' home screens
- Package name — formatted as
com.yourcompany.appname; this is your app's permanent unique identifier on Android
On the package name: choose it thoughtfully. Once your app is published, the package name cannot be changed without creating an entirely new listing from scratch — you'd lose all your reviews and download history in the process.
Step 3 — Define Your App's Visual Identity
This step is where the web app becomes something that feels genuinely native. You'll configure:
- App icon — supply a clean 512×512 PNG; this is the face of your app in the launcher and the Play Store
- Splash screen — displayed during the initial WebView load; transforms the blank white flash into a branded moment
- Bottom navigation tabs — define the key sections of your app with labels and icons, replicating the navigation pattern users expect from native mobile apps
- Status bar colour — align it with your brand palette or page theme
- Page loader style — controls what users see while your Next.js bundle initialises on first launch
None of this requires a designer or design tools. A logo file and your hex colour codes are enough.
Step 4 — Configure Runtime Behaviour
These settings shape how your app feels to use day-to-day:
- Pull to refresh — lets users reload content by swiping down; essential for apps with live data
- Pinch to zoom — useful if your app surfaces catalogues, documents, or images users might want to examine closely
- No internet screen — a custom message when the device goes offline, keeping things branded rather than leaving users staring at a browser error
- Play Store sync — aligns version metadata between your deployed app and your store listing
- Share and Rate prompts — built-in prompts that encourage word-of-mouth growth and review volume, both of which directly affect Play Store ranking
These are configuration options, not code. The whole step takes about ten minutes.
Step 5 — Trigger Your Build and Download the APK
Once configuration is complete, submit the build request. AppOfWeb runs the compile in their cloud environment and delivers the APK when it's done. Download it and move straight to testing — don't skip that step.
Step 6 — Install and Test Everything
Side-loading the APK onto your own Android device is the only real way to know it's working:
- Go to Settings → Apps → Special App Access → Install Unknown Apps
- Grant permission to your file manager or browser
- Open the APK and install it
Then go through your app methodically:
- Navigate every section, not just the homepage
- Trigger any authenticated flows — login, session persistence, account pages
- Submit at least one form
- Watch the splash screen play out on first launch
- Disable Wi-Fi and check that the offline screen appears as expected
- Verify bottom tab routing lands on the correct pages
If anything needs adjusting, submit a revision request. Unlimited revisions are part of the package.
What You're Getting: Feature-by-Feature Breakdown
App Icon and Splash Screen
Your icon is the first thing users interact with — before they've even opened the app. A crisp, well-composed icon gets tapped; a generic or stretched one raises doubts. The splash screen serves a functional purpose too: it covers the brief gap between tapping the icon and your Next.js app being ready to render, replacing an awkward white flash with something intentional.
Customisable Bottom Navigation Tabs
Users on Android have strong expectations around navigation patterns. A bottom tab bar with labelled icons for your main sections — home, search, account, whatever fits your structure — signals native app design. It also makes your app significantly easier to use one-handed, which matters more than most people think.
Share and Rate Prompts
Growth on mobile has a viral component when it's done right. The Share prompt gives users a frictionless way to recommend your app. The Rate prompt, shown after a few sessions when users are already engaged, nudges them toward leaving a Play Store review. Reviews feed directly into Play Store search ranking — they're not just social proof.
Pull to Refresh
For Next.js apps that surface dynamic content — dashboards, product feeds, news, user-generated content — pull to refresh is a core UX expectation. Users who try to swipe down on content and nothing happens will assume the app is broken.
Status Bar Customisation
A small thing with visible impact. Matching the status bar colour to your brand palette — and setting the correct icon mode (light or dark) so the battery and signal indicators remain legible — keeps the experience visually cohesive from the moment the app opens.
Page Loader
Your Next.js app has a JavaScript bundle. On first load, especially on slower connections, there's a moment before anything renders. Without a loader, that moment looks like a crash. With one, it looks like a fast app doing its thing.
Pinch to Zoom
Disabled in most WebView implementations by default. Worth enabling if your app surfaces anything detail-oriented — product photography, menus, diagrams, PDFs.
No Internet Screen
A WebView without an offline handler shows users a raw Android browser error inside what looks like a native app. That's jarring and damages trust. A custom screen with clear messaging — "You're offline. Check your connection and try again." — is a minor configuration that makes a significant difference to how professional your app feels.
Play Store Sync
When you push updates to your Next.js site, those changes appear in the app immediately with no resubmission required — the WebView always loads your live deployment. The sync feature keeps version metadata aligned so your store listing stays consistent.
Package Name
Your package name (e.g., com.yourcompany.appname) is your app's permanent identity on the Android platform. There is no way to change it after publishing without abandoning your existing listing entirely. Get it right from the beginning.
Unlimited Revisions
Most per-build services incentivise you to minimise iterations. AppOfWeb's unlimited revision model means you can adjust icon dimensions, tweak splash screen timing, rearrange tab order, and refine colours without a cost attached to each change.
Add-Ons Worth Factoring In Early
Push Notifications
Push notifications are consistently among the highest-ROI features in mobile. They let you reach users directly — re-engagement campaigns, time-sensitive alerts, shipping updates, new content — even when the app isn't open. This is available as an add-on through AppOfWeb and includes the backend integration required to make it work from your Next.js deployment.
If you're building anything with repeat-use value, push notifications are worth planning for from the start.
Play Store Publishing Managed for You
Google Play Console submission involves more than uploading an APK. You need properly formatted screenshots and a feature graphic, a complete store listing with localised copy, a content rating questionnaire, and a good understanding of review queue timing. If you've never done it before, the first submission usually takes longer than expected.
AppOfWeb offers a fully managed publishing add-on that handles the entire submission process. Worth serious consideration if this is your first Play Store listing.
Is This the Right Approach for Your Next.js App?
Strong Match — Use This Approach If You:
- Have a Next.js app that's already responsive and working well in mobile browsers
- Need an Android presence without hiring a native developer or learning Kotlin
- Run a SaaS tool, e-commerce store, service business, content platform, or internal web app
- Want to validate mobile app demand before investing in a fully native build
- Need to ship in days, not months
Consider a Different Approach If You:
- Need deep access to device hardware — Bluetooth, NFC, camera beyond basic uploads, or sensors
- Are building a high-performance game or real-time 3D application
- Require sophisticated offline-first functionality with a local database and background sync
- Need an iOS build simultaneously (check AppOfWeb's current offering directly)
The WebView approach is well-suited to the broad middle of the app market: productivity tools, storefronts, dashboards, booking systems, community platforms. It's not the right tool for every category, and it's worth being clear-eyed about that.
Mistakes People Make (So You Don't Have To)
Not Testing Mobile Viewport Before Submitting
Layout issues that look minor in a desktop browser become glaring at 390px wide inside a constrained WebView. Run your Next.js app through Chrome DevTools mobile simulation and fix what you see before ever submitting a URL.
Submitting a Non-HTTPS URL
Android enforces encrypted traffic for WebView apps. A plain HTTP URL will render nothing — or display an error that looks like your app is broken. Verify that your deployment is serving over HTTPS before you start.
Ignoring Dynamic Route Behaviour
Next.js makes file-based routing feel effortless, but it's worth confirming that direct URL access to your dynamic routes (e.g., /dashboard/[userId]/settings) works correctly — not just navigation via next/link. WebView linking behaviour can expose routing issues that never surface during normal browser use.
Skipping the Offline Screen Configuration
Leaving this field blank means users dropping connectivity see a raw browser error inside your otherwise native-looking app. It takes two minutes to configure a proper offline message and saves a disproportionate amount of user confusion.
Locking In the Wrong Package Name
The permanence of the package name catches people off guard. Once published, it's fixed. A change means a new listing, a reset review count, and lost download history. Plan it properly: com.companyname.appname is the standard convention, and clarity matters more than cleverness.
Common Questions Answered Directly
Does my Next.js app need any code changes before conversion?
No. The conversion service works from your live URL. Your existing deployment is the source — nothing about your codebase needs to change.
Will server-side rendering still work inside the APK?
Yes. The WebView loads your app exactly the way a mobile browser would. SSR, ISR, and static generation all work as expected — the WebView doesn't know or care how your pages are generated, it just renders what the server returns.
What happens when I update my Next.js site after the APK is published?
Content and feature updates pushed to your live deployment appear in the app automatically. No new build, no Play Store resubmission. The APK always loads the current version of your site.
For changes to the app shell itself — a new icon, updated splash screen, revised navigation tabs — a new APK build is required, followed by a Play Store update submission.
How long does it take to receive the APK?
Current turnaround times are best checked directly on appofweb.com. Timelines can vary based on configuration complexity and queue volume.
Is the generated APK accepted by Google Play?
Yes. AppOfWeb produces a properly signed APK or AAB that meets Play Store technical requirements. The optional publishing add-on manages the full submission process if you prefer not to handle it yourself.
My Next.js app uses authentication. Will sessions work correctly?
Yes. The WebView handles cookies and session tokens the same way a mobile browser does. Authenticated routes, protected pages, and login/logout flows all behave as expected.
Can push notifications be added after the initial APK is live?
Yes. Push notifications are available as an add-on and can be integrated into an existing AppOfWeb project. You don't need to restart the process or create a new app.
Closing Thoughts — Your Next.js App Already Belongs on Android
Let's pull together what we've covered:
- The business case for a proper APK over a PWA — home screen presence, Play Store discoverability, push notifications, and expected native behaviour
- Why Next.js apps are particularly well-suited to WebView packaging
- How managed conversion services work versus DIY toolchains
- A step-by-step walkthrough from preparing your deployment to testing your APK
- Every feature in your build and what each one does for your users
- Optional add-ons (push notifications, Play Store publishing) worth planning for early
- Who this approach is right for, and the scenarios where a different path makes sense
- The mistakes to avoid before they cost you time
The five things to carry away:
- Your existing Next.js deployment is all the source material you need — no rewrites, no new code
- Managed conversion handles the Android build environment so you don't have to
- Features like bottom navigation, splash screens, offline handling, and push notifications are included or available as add-ons
- The APK is production-ready for Play Store submission from day one
- Unlimited revisions mean you can iterate until the result is exactly right
Your Next Three Steps
- Pull up your Next.js app on a mobile browser and check how it actually looks at mobile width — be honest about what needs fixing
- Confirm your production deployment is on HTTPS and publicly accessible
- Visit appofweb.com, drop in your URL, and start the build
Your Next.js app is already most of the way to being a real Android product. The gap between where it is now and a published Play Store app is smaller than you think.
Once your app is in the Play Store, push notifications are the single most effective way to bring users back. It's worth setting them up early, before you have an audience to notify.