Convert Your Kajabi or Teachable Course Site into a Mobile App
You built your course. You launched it on Kajabi or Teachable. Students are signing up. And then — every week — someone emails to ask: "Is there an app for this?"
Fair question. People live on their phones. Having a home-screen icon, push notifications, and a loading screen that says your brand name feels legitimately different from bookmarking a website. It changes how students perceive the value of what they bought.
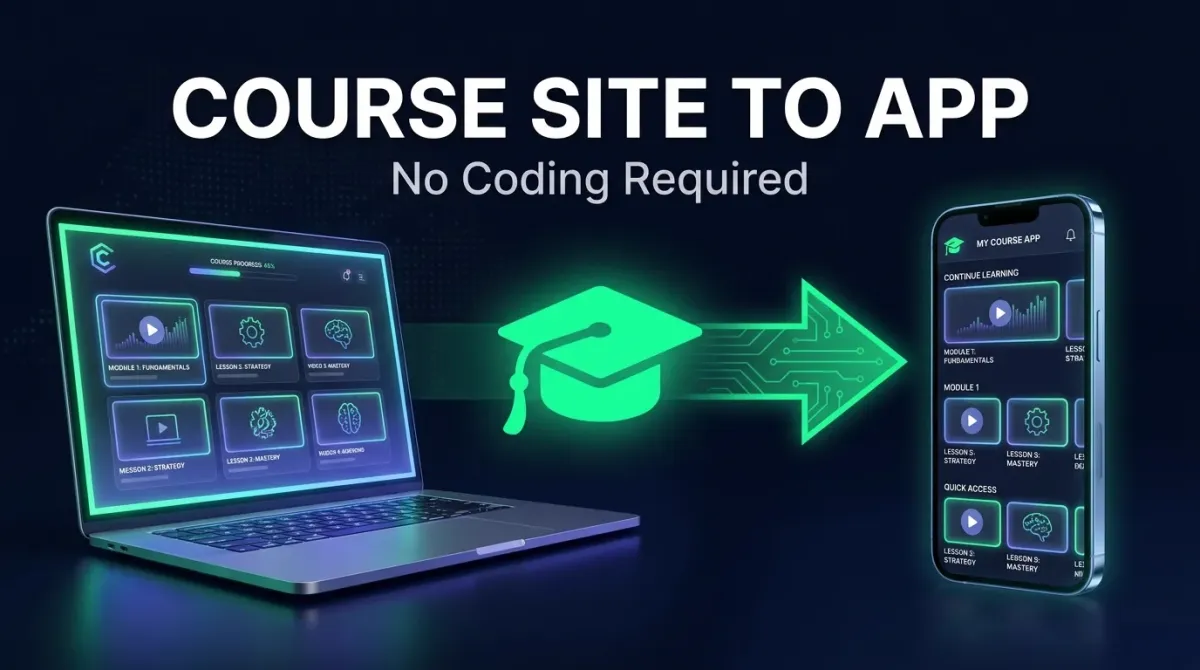
The good news: you do not need to rebuild anything. Your Kajabi or Teachable site already works on mobile. All you need is a native shell around it — and AppOfWeb can generate that shell for both Android and iOS without you writing a line of code. That native shell is a WebView app — the same approach we use for Ghost blogs and Shopify stores.
This guide explains why it works, how to do it in seven steps, what mistakes to avoid, and answers the questions developers actually ask.
Why Students Want a Mobile App (Not Just a Mobile Site)
Students treat a mobile app as a signal of permanence. A website can disappear. An app icon on the home screen feels like a commitment — from you to them.
Beyond psychology, there are real usability differences:
- Push notifications. You cannot send a push to a browser tab. You can to an app. That one capability alone drives re-engagement that email rarely matches.
- No browser chrome. No address bar, no tab switching, no accidentally closing the window mid-lesson. The course gets the whole screen.
- Home-screen presence. App icons compete with Netflix and YouTube. A browser bookmark does not.
- Faster perceived load. The shell loads instantly. The content streams in. Students feel it as snappier even when the underlying server speed is identical.
Neither Kajabi nor Teachable ships a white-label app you can brand as your own. Kajabi has a native app — but it's Kajabi's app, with Kajabi's branding, accessible to every Kajabi customer. If you want students to open your branded app, you need to build it yourself. That's what this guide covers.
What Changed in 2025–2026
Three shifts in 2025–2026 make a wrapped app more viable than ever.
Google Play loosened WebView app policies
For years, Google Play rejected apps that were "nothing more than a website." In 2024–2025, Google clarified the policy: a WebView app is acceptable if it adds genuine value — a branded experience, push notifications, offline assets, or a structured content experience. Course apps tick every box. Google's current policy is documented here. Apple applies a stricter version of the same test — see Apple Guideline 4.2 and how WebView apps get approved, and why apps get rejected by Google Play if you hit a problem.
Safari on iOS gained better WebView parity
WKWebView on iOS 17+ handles modern CSS, service workers, and video playback with far fewer quirks than earlier versions. Course videos, interactive quizzes, and community features that once broke in a WebView now render correctly.
No-code app builders matured
The tooling got good enough that "wrapping" a site is a configuration task, not a development task. AppOfWeb handles code signing, push notification certificates, and store-ready build packaging — things that used to require a React Native developer and a DevOps setup.
How a WebView App Works (and Why It's Not "Just a Browser")
A WebView app is a native container that renders your existing website. It looks and behaves like an app because, structurally, it is one — compiled against iOS and Android SDKs, distributed through app stores, and installed on the device like any other app.
The difference from a browser bookmark: the shell is compiled native code. It handles push notification tokens, camera/microphone permissions, deep links, and splash screens through the device OS — things a browser tab cannot do.
Your Kajabi or Teachable content stays exactly where it is. You do not export it, migrate it, or pay for a parallel hosting setup. The app simply points to your existing URL.
Kajabi vs. Teachable: Does It Matter Which Platform You're On?
For the purposes of building a wrapped app, the two platforms are nearly identical. Both serve your course as a standard HTTPS website, both support custom domains, and both render correctly inside a WebView.
| Factor | Kajabi | Teachable |
|---|---|---|
| Custom domain support | Yes (all plans) | Yes (Pro+ plans) |
| Native platform app | Yes — Kajabi-branded | No native app |
| White-label app possible? | Not via Kajabi — use AppOfWeb | Yes — use AppOfWeb |
| Video hosting | Wistia (Kajabi CDN) | Wistia / Vimeo |
| Video plays in WebView? | Yes | Yes |
| Login / checkout in WebView? | Yes | Yes |
| Community features in WebView? | Yes (Kajabi Communities) | Limited (no built-in community) |
One note on Teachable: the free and Basic plans do not support custom domains. If you are on one of those plans, your site URL will be yourschool.teachable.com. That URL works fine in a WebView — students just see a Teachable subdomain in the occasional edge case where a URL surfaces. If branding matters end-to-end, upgrade to Teachable Pro or higher to use your own domain, then point AppOfWeb at that domain.
Step-by-Step: Build Your Course App in Under 30 Minutes
The full process takes about 20–30 minutes of active configuration. Build time runs in the background — you will get an email when the APK and IPA files are ready.
-
Create a free AppOfWeb account Go to appofweb.com and sign up. No credit card is required to start. You will land on the app builder dashboard.
-
Paste your course site URL In the URL field, enter the full address of your Kajabi or Teachable site. Use your custom domain if you have one — for example
learn.yourbrand.com— rather than the platform subdomain. This is what the app will open on launch. -
Add your branding Upload your app icon as a square PNG at 1024×1024 pixels. Set the app name (what appears under the icon on the home screen), a splash screen background color, and an accent color. Keep the icon simple — it will be displayed at 60×60 pixels on most devices.
-
Configure permissions Enable push notifications if you plan to message students. Toggle camera access if any course activity requires it (live sessions, video assignments). Microphone access follows the same logic. Only request permissions you actually use — app store reviewers check.
-
Generate the build Click Build App. AppOfWeb handles code signing, asset bundling, and platform-specific compilation. You will receive an email with download links for the Android APK and the iOS IPA. Build time is typically under 10 minutes.
-
Test on a real device Android: On your phone, go to Settings → Apps → Special App Access → Install Unknown Apps, and allow your browser or file manager. Download the APK from the email link and tap to install. Run through a lesson, test login, and check that push notifications arrive.
iOS: Use TestFlight. In App Store Connect, create a new app record and upload the IPA. Add yourself as an internal tester. Apple sends a TestFlight link — open it on your iPhone and install. Walk through the same test flow. -
Publish to app stores Upload the Android APK to Google Play Console under a new app listing. Upload the iOS IPA to App Store Connect. AppOfWeb provides the metadata (description, screenshots, category suggestions) you need for both listings. Android review typically takes 1–3 days. Apple review takes 1–7 days.
You do not need to touch your Kajabi or Teachable settings at any point. The app reads your existing site the same way a browser does.
Common Mistakes to Avoid
If you point the app at yourschool.mykajabi.com instead of your custom domain, Kajabi branding appears in the title bar and any internal navigation links break your app's single-domain rule. Always use your custom domain.
Detailed logos with thin lines and small text become unreadable at 60px. Test your icon at 60×60 pixels before uploading. Flat, high-contrast designs work best.
Asking for camera or microphone access when your course has no live component triggers app store review flags and makes students nervous. Only enable what the course actually needs.
A WebView quirk that's invisible on desktop — a fixed-position element covering course navigation, a login redirect loop, a video that won't go full-screen — will get your app rejected or generate support tickets. Test every major screen on a real device first.
The default white splash screen looks unprofessional and can cause a flash before your course site loads. Set the splash color to match your brand's primary background color — the transition becomes seamless.
Push notification certificates expire and can be misconfigured silently. Send a test notification from the AppOfWeb dashboard to a real device before you submit to stores. If it does not arrive, diagnose it then — not after 10,000 students have installed the app.
Frequently Asked Questions
Conclusion
If students are asking for an app, the answer no longer has to be "we're working on it." Your Kajabi or Teachable site is already the course — it just needs a native shell around it.
The approach works because your content is already mobile-ready. The WebView handles everything a browser handles. What you gain is a home-screen icon, push notifications, and a branded launch experience that makes the product feel more substantial — without a rebuild, a developer, or a six-month timeline.
Key takeaways:
- Your existing Kajabi or Teachable site requires zero changes.
- Use your custom domain, not the platform subdomain, as the app URL.
- Test on a real device — Android and iOS — before submitting to stores.
- Push notifications are the single highest-leverage feature a wrapped app adds.
- Google Play and App Store both accept properly configured WebView course apps.
- Total time from account creation to working APK: under 30 minutes.
Ready to build your course app?
Create a free account on AppOfWeb and have an Android APK in your inbox within the hour.
Build Your App Free →